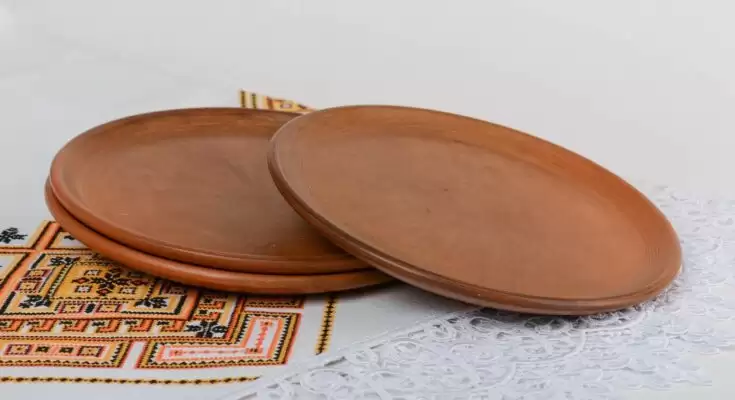
Pottery is an ancient art that uses clay to make both practical and aesthetic objects such as pots, plates, cups, soup bowls, flower vases, and more. In modern days, pottery continues to bring the work of art into the limelight and human culture. Luckily, anyone who is interested can give it a try due to the availability of pottery resources and information.
For now, we’ll dig into the realm of pottery in this post, concentrating on making a clay plate, a delightful and adaptable piece of dinnerware that can be a wonderful addition to your home or a kind gift for a loved one.
What You Need to Make a Clay Plate
It’s crucial to gather the required materials and tools before starting your clay plate-making adventure. It is also good to buy one homemade plate crafted by a professional through a website such as Supper Club for comparison. If you are ready to try your own, here is what you will need:
· Clay – Clay is the foundation of all pottery projects and comes in a variety of types and textures. So, pick the type of clay that will work best for your preferences and the finished product of your plate.
· Glazes – Glazes are used to decorate and add color to your plate before being fired. They transform an ordinary item into a magnificent work of art.
· Rolling pin and surface – The rolling pin is used for flattening and shaping the clay to make a plate. You definitely need a flat surface to work on.
· Cutting tools – You will need cutting tools such as cutting wires, pottery knives, or cookie cutters to shape the clay into the desired plate form.
· Kiln – This can be an electric or charcoal oven used to fire your plate at the final stage.
How to Make a Plate
With your materials and tools ready, you can start the process of making a plate. We will guide you on the important steps to make your plate:
· Preparing the clay – You should start by kneading and conditioning the clay to remove air and give it the right consistency. Any pottery enthusiast will tell you how important this is.
· Shaping the plate – You can start by rolling the clay on a flat surface and then cutting the outline of your plate. You can opt for classic round shapes or experiment with unique designs.
· Adding texture – This step is where your creativity can shine. You can press textured objects, lace, or even leaves onto the clay to create intricate patterns and designs on the surface of the plate.
· Drying and firing – You should allow the plate to air dry for a day or two before firing. Once dry, place your plate in the kiln for the firing process.
· Applying glazes – After the initial firing, you should carefully apply glazes to your plate. This is where you can play with colors and designs to achieve the desired look.
· Final firing – Lastly, you need to return the glazed plate to the kiln for the final firing. The high temperatures will transform the glazes into a glossy, vibrant finish.
Conclusion
Pottery is an amazing and therapeutic art and hobby that many people cherish. With the tips and insights we’ve discussed, you can make your plate easily at home to add to your dinnerware collection. Who knows, you might become an expert and start selling some homemade plates and other clay items.


